Hit enter to search or ESC to close
June 11, 2026
Whether you are designing a modern corporate office, a sterile medical facility, or a high-end commercial retail space, the foundation of a professional look begins from the top down. A high-quality ceiling grid kit provides the essential structural support needed to hold ceiling panels securely while hiding unsightly wiring, plumbing, and HVAC ducts. Choosing the right suspension system not only ensures the safety and stability of the installation but also significantly impacts the acoustic performance and aesthetic appeal of the room. In this comprehensive guide, we will explore everything you need to know about selecting and installing the perfect grid system for your architectural needs.

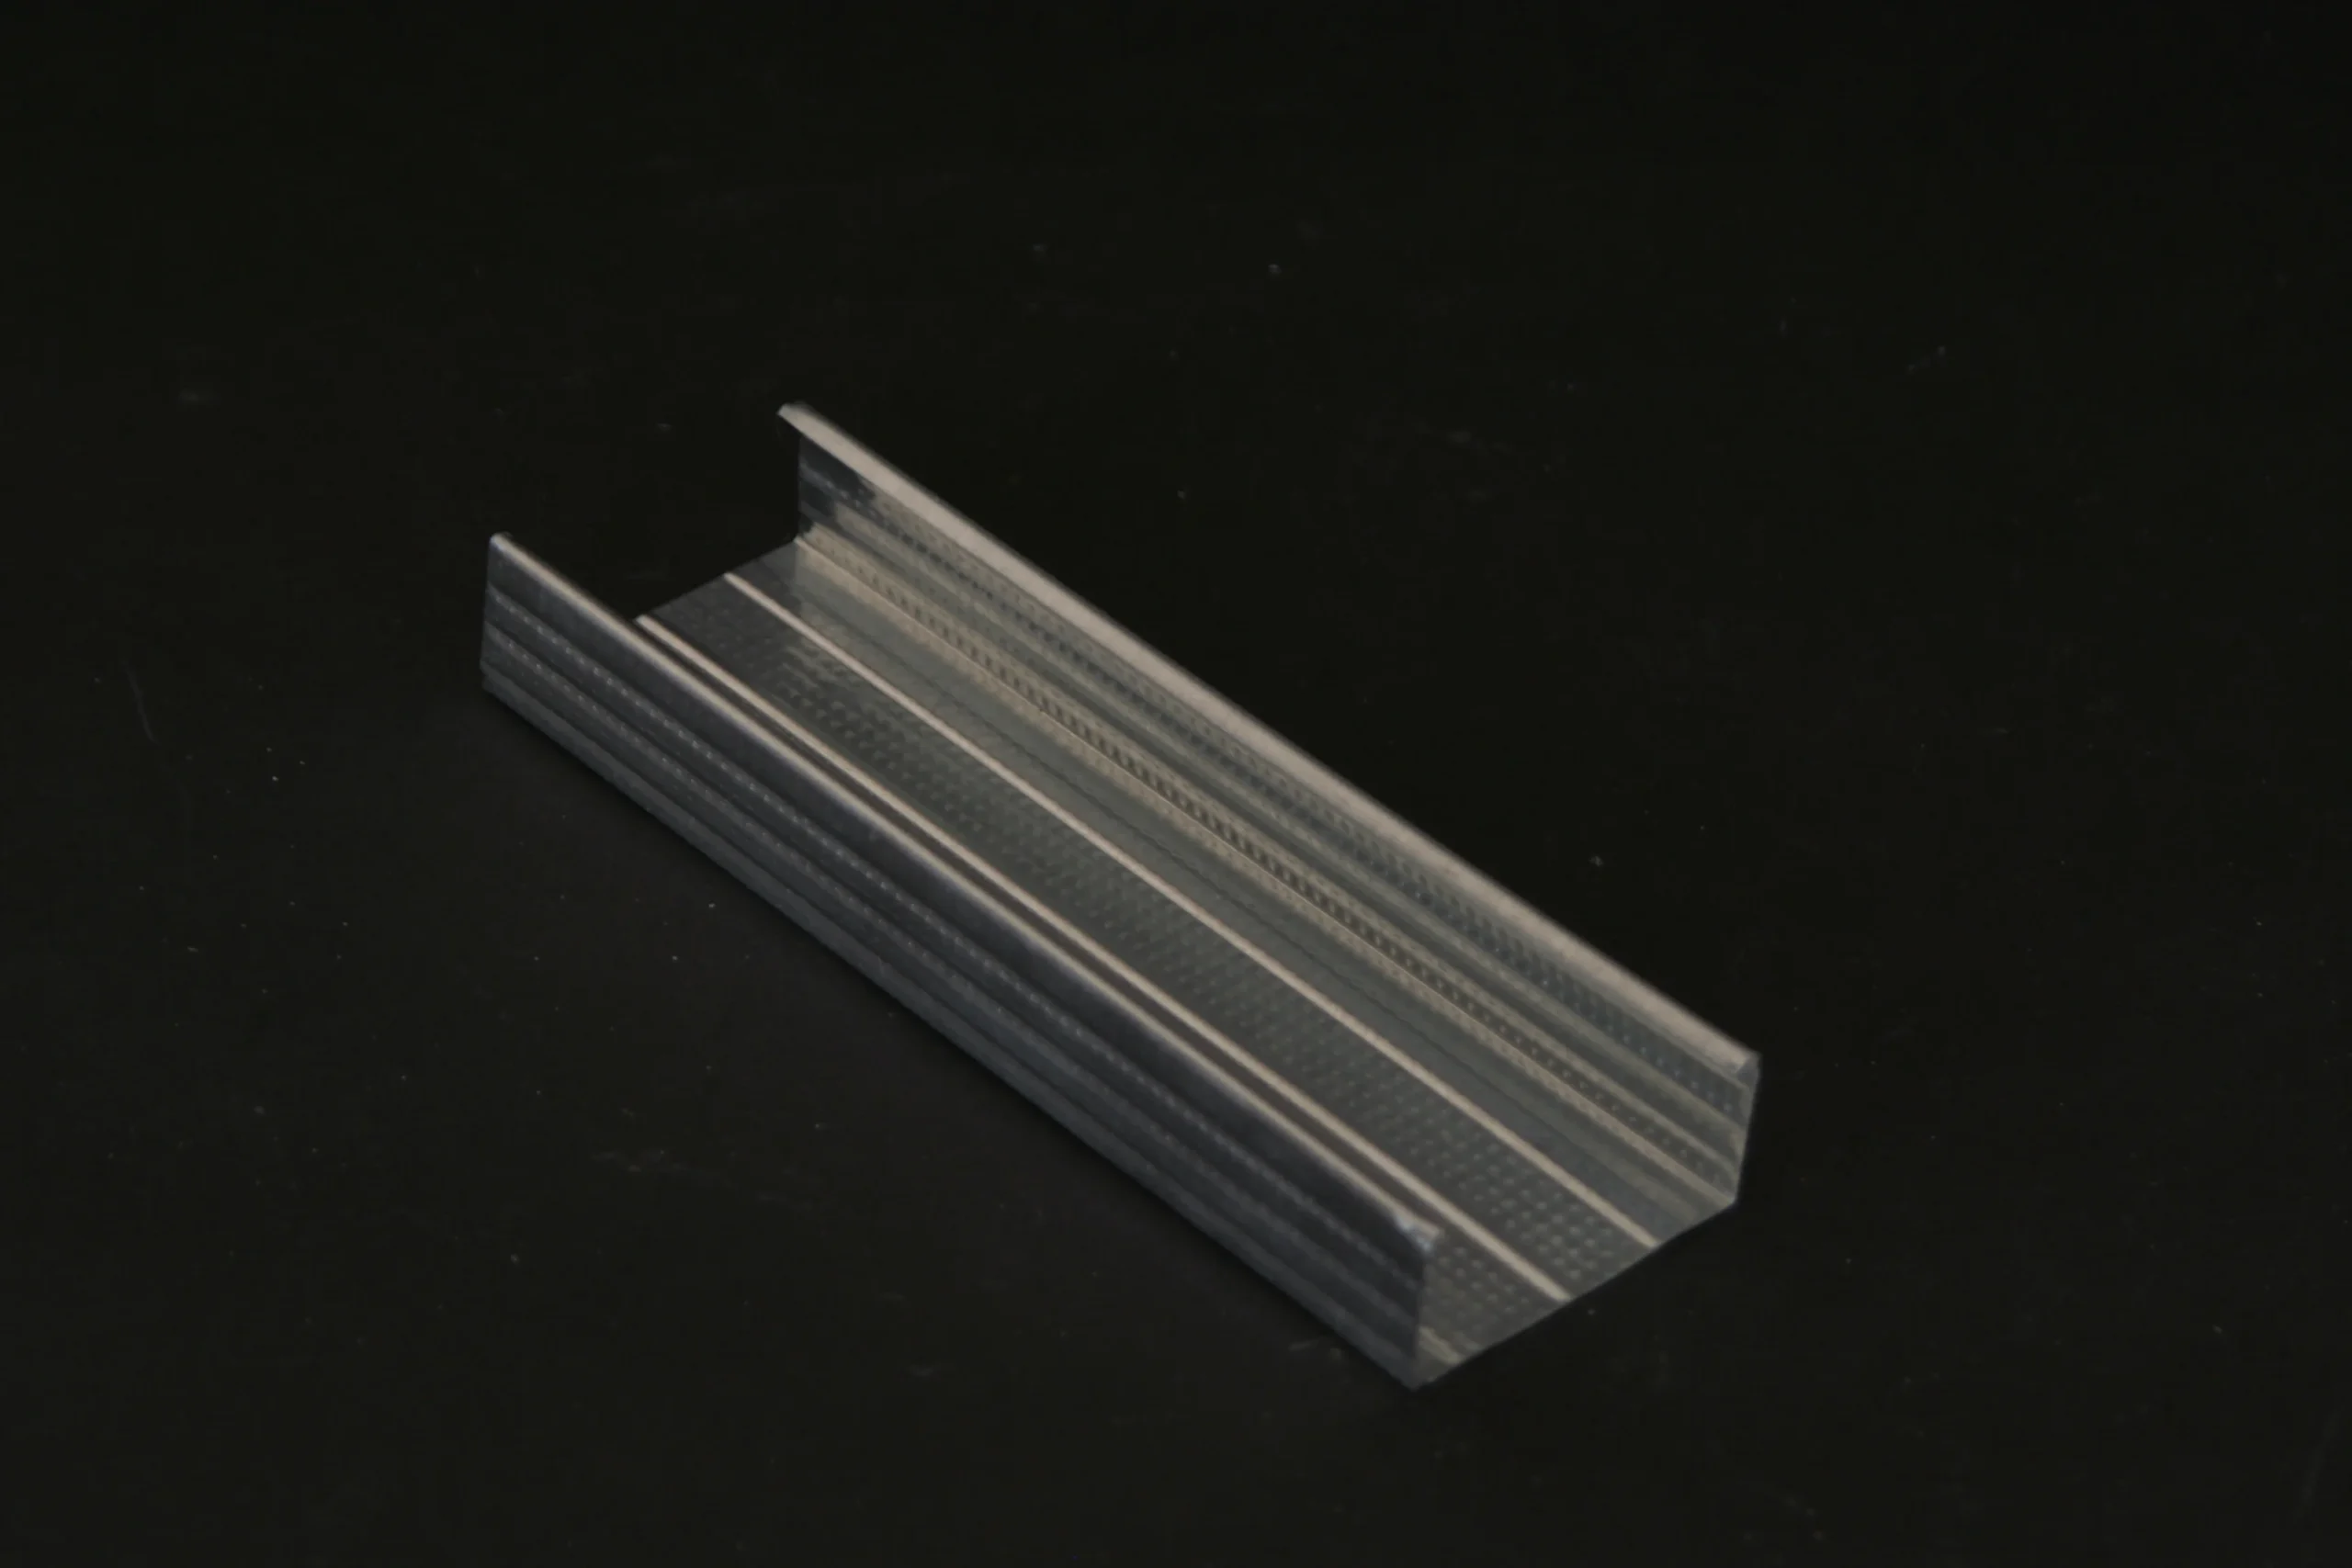
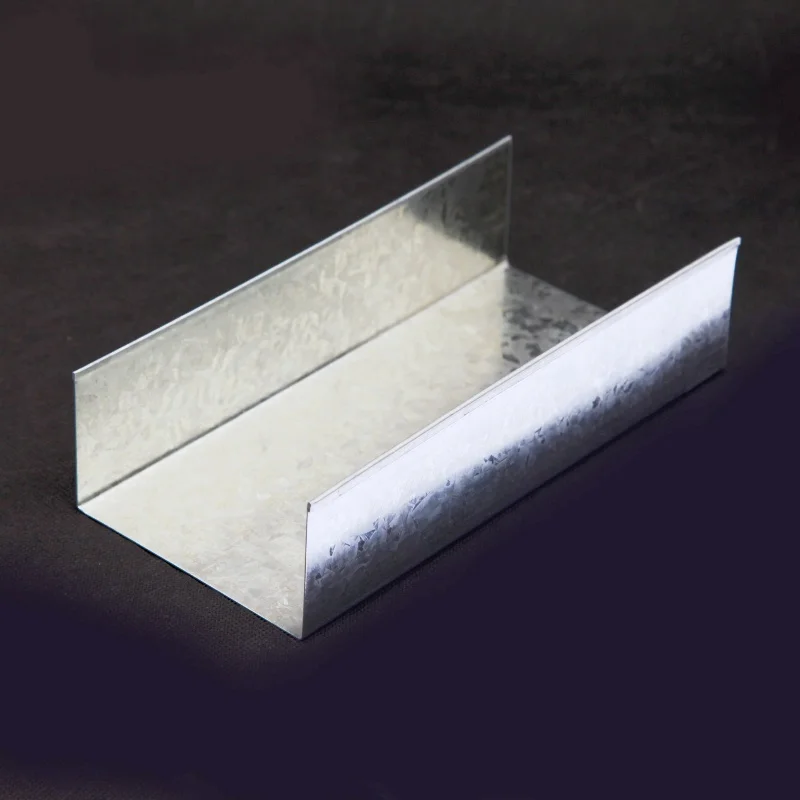
A professional ceiling grid kit is more than just metal bars; it is a precision-engineered system. The kit typically consists of main runners, which provide the primary structural support, and cross tees, which snap into the main runners to create the desired grid pattern (usually 2'x2' or 2'x4'). Additionally, wall angles are installed around the perimeter to support the edges of the grid. High-grade galvanized steel is often used to prevent corrosion and ensure long-term durability. Understanding these components is crucial for ensuring that the ceiling can handle the weight of the tiles and any integrated lighting fixtures.
Pro Tip: Always check the gauge of the steel in your kit. Heavier gauge steel provides better resistance to "sagging" over time, especially in larger rooms with wide spans.
Not all ceiling systems are created equal. Depending on your project requirements, you may choose between an Exposed Grid, where the T-bars are visible and contribute to an industrial look, or a Concealed Grid, where the supports are hidden for a seamless, monolithic appearance. The choice of a ceiling grid kit depends on the balance between installation speed, budget, and the final visual goal. While exposed grids are faster to install and easier to access for maintenance, concealed grids offer a more luxurious and clean finish.
Implementing a standardized ceiling grid kit offers more than just a place to put tiles. First, it provides exceptional versatility; if a pipe leaks or a wire needs replacing, you can simply lift a tile and access the plenum space without tearing down the entire ceiling. Second, these kits are designed to work in tandem with acoustic ceiling tiles (ACT) to reduce noise pollution, which is vital for productivity in office environments. Finally, the precision of a factory-made kit ensures that the ceiling remains perfectly level, avoiding the unsightly waves often seen in DIY installations.

Installing a ceiling grid kit requires careful planning and a steady hand. The process begins with marking the perimeter of the room and installing the wall angles. Once the perimeter is set, the main runners are suspended from the structural ceiling using hanger wires, spaced typically every 4 feet. The cross tees are then clicked into place to form the grid. It is essential to use a laser level to ensure the entire system is perfectly flat. Once the grid is locked, the ceiling panels are simply dropped into the slots, completing the installation efficiently.
Installation Checklist:
• Laser level for precise alignment
• Galvanized hanger wires for secure suspension
• Accurate measurement of the room perimeter
• Proper matching of grid size (e.g., 600x600mm) to tiles
When ordering a ceiling grid kit, paying attention to the technical specifications is the difference between a stable ceiling and one that sags. Most commercial kits utilize a T-shaped profile made from cold-rolled steel. The finish is usually a white powder coating or a galvanized layer to prevent rust in humid environments. Below are the standard specifications typically found in professional-grade kits.
Selecting a professional ceiling grid kit is a strategic decision that impacts the longevity, safety, and appearance of any commercial or residential space. By choosing a system that balances material strength with aesthetic preference, you ensure a ceiling that is not only beautiful but also functional and easy to maintain. Whether you prioritize the seamless look of a concealed grid or the practicality of an exposed one, investing in high-quality components is the only way to guarantee a flawless finish. Upgrade your space today with a system built for excellence.
Determining the size starts with measuring the total length and width of your room. Once you have the dimensions, you decide on the tile size you wish to use (e.g., 2x2 or 2x4 feet). You then calculate how many main runners and cross tees are needed to fill that area. It is always recommended to buy 5-10% more materials than calculated to account for cuts, waste, and perimeter adjustments. A professional ceiling grid kit supplier can often provide a takeoff service to help you calculate exactly what is required for your specific room dimensions.
Absolutely. Many homeowners use grid systems in basements because they provide easy access to the electrical and plumbing lines that are often exposed in lower levels. It allows you to create a finished, clean look without the permanence of drywall. When installing in a basement, be sure to choose a kit with a moisture-resistant finish if the area is prone to dampness. This ensures that the grid doesn't rust and the tiles don't sag over time due to humidity.
Sagging is usually caused by inadequate support or overloading the grid. To prevent this, ensure that your hanger wires are spaced correctly—typically every 4 feet along the main runners. Use high-quality, heavy-gauge steel for your ceiling grid kit. Additionally, if you are installing heavy lighting fixtures or HVAC vents, you must install independent support wires for those specific items rather than relying solely on the grid to hold the weight. Proper tensioning of the hanger wires during installation is also critical to maintaining a level plane.
The main runner is the "backbone" of the system; it is the longest piece of the grid and is suspended directly from the ceiling joists. It bears the most weight. The cross tee is a shorter piece that connects perpendicularly to the main runners, effectively dividing the space into smaller squares or rectangles. In a standard 2x4 grid, you have main runners running one way and cross tees snapping into them to create the 4-foot spans. Both are essential components of a complete ceiling grid kit.